Completing Aggregate Technical Validation and/or Clinical Review
Once Technical Validation and Clinical Review are completed, the medication records and Official Receipts will print automatically. If you're performing an Aggregate check, this could translate to many labels being printed after sign off. If you don't want the labels to print automatically after sign off, set Labels to 0. For more information, see Setting Prescription Labels to Not Print After Aggregate Checking.
To complete Technical Validation and/or Clinical Review from the Aggregate window:

-
Review the information in each prescription row.
-
British Columbia only: Select the Allergy Check, Pharmanet Check, and D.T Issues checkboxes if the checks were completed. If a Pharmacy Technician is completing Technical Validation, the Pharmanet Check and D.T Issues checkboxes cannot be selected at this point.
-
If performing Clinical Review, independently or in combination with Technical Validation, select the expanding arrow
 to view clinical information in the following tabs:
-
Clinical Info - displays medical allergies, conditions, and interactions that were displayed at the time of fill.
A warning indicator
 on the Clinical Info tab indicates that a moderate, severe, or contraindicated interaction exists for one or more of the loaded prescriptions. You must open the tab and review the information. If this is not done, you will be returned to the Aggregate window upon selecting Sign Rx, and the Clinical Info tab will be forced open.
 -
Patient Profile - displays the prescriptions on the patient's Profile tab. In British Columbia, the patient's PharmaNet Profile can be viewed by selecting the PharmaNet link.
-
Notes - displays notes marked as Print in the prescription, Prescriber, Drug, and Patient Notes tabs.
The Audit History tab is not available in the Aggregate window as Audit History is specific to one prescription. To view the Audit History for a loaded prescription, highlight the prescription and then select Rx > Audit History.
-
-
Select the Alerts button
 to review any Alerts if applicable.
 -
Once a prescription has been checked, select the Verify button. The prescription drops to the bottom of the list, and the Verify button is renamed to Verified and changes to green.
If you'd rather Verify all prescriptions for a patient at once, select the Verify all button.
-
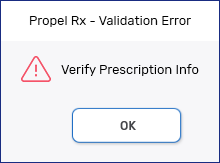
Once all prescriptions for the patient have been Verified, select the toggle buttons at the bottom to navigate to the next patient. If you've already partially Verified prescriptions for a patient, you must Verify the remaining prescriptions before navigating to the next patient or selecting Validate/Sign Rx; otherwise, you will receive the following prompt.
If multiple patients were loaded in the Aggregate window, you can Verify a patient's prescriptions while other patients are loaded in the background.
-
Do one of the following:
-
If performing Technical Validation only, select Validate. Technical Validation is completed for the Verified prescriptions and they will vacate the Aggregate window. Any prescriptions which have not been Verified remain in the Aggregate window for you to check.
-
If performing Clinical Review, independently or in combination with Technical Validation, select Sign Rx to open the Signature window. Sign for the prescription depending on if there is an E-Signature saved to the pharmacist's profile in the Security window or not.
 E-Signature saved
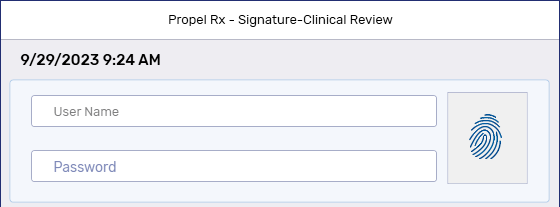
Enter your username and password or scan your fingerprint using the fingerprint scanner. The E-Signature saved to your pharmacist profile displays on the e-File copy. Your initials display in Workflow Details.
If the signing Pharmacist is different from the logged in Pharmacist user, the signing Pharmacist's E-Signature and their initials are documented on the e-File copy and Workflow Details.
E-Signatures cannot be set up in Alberta or Manitoba.
No E-Signature saved
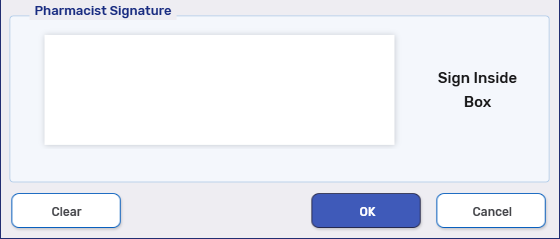
Sign the prescription using a signature pad or mouse. Propel Rx auto-detects the method used and displays it to the right of the signature box.
If the signing Pharmacist is different from the logged in Pharmacist user, the logged in Pharmacist's initials are associated with the manual signature on the e-File copy and Workflow Details.
Clinical Review is completed for the Verified prescriptions and they will vacate the Aggregate window. Any prescriptions which have not been Verified remain in the Aggregate window for you to check.
-
 for New, ReAuth, and Hold prescriptions in the
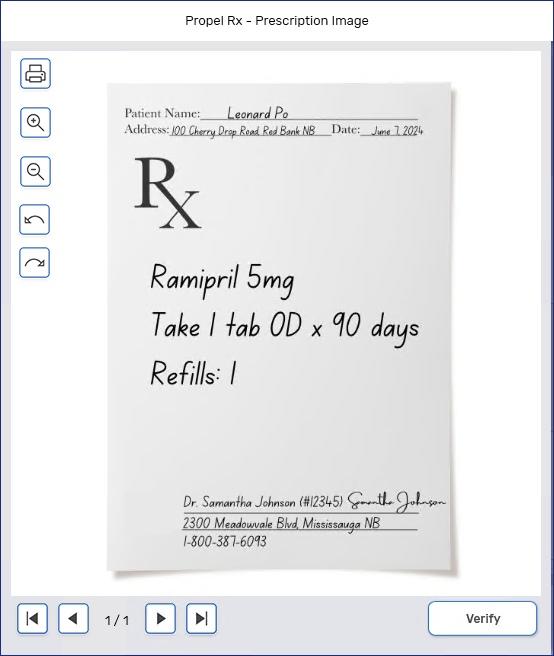
Next Steps?